How To Build A Hanging Cabinet / 102 best images about How To Build Your Own Kitchen ... : Join the base panels to the bottom.. Check for plumb and level after hanging wall cabinets and before moving on to hanging the next set of cabinets. This wall hanging cabinet is ideal for a bathroom that has a fair amount of space. Cut the cabinet bottom to that length. Use a level to make sure you are attaching the cleat level and attach it to the studs behind the wall with 3″ wood screws. Once the outer shell is completed, glue the plywood shelves in position inside the frame, securing with nails.
Diy bathroom cabinet with mirror Create the two halves of the set with 1x4 lumber. If building a new drawer, you can follow my simple drawer tutorial but adjust the size to accommodate the files. Multiply the thickness of the plywood or mdf sides times two. Of filler to the back.
Learn How to Build a Cabinet with These Free Plans ... from popularwoodworking.com Bifold door cut the two panels to equal height, leaving a rail at the top and bottom of each. Use the guidelines you created on the wall and your tape measure to mark the distance from the cabinet edge to the stud and transfer this to the cabinet. I love the build, i also love the doors. If you really, really want the doors to open all the way, you can add another 1/4 in. Set the fence of your table saw 3 inches from the blade, and adjust the angle of the blade to 45 degrees. Level and set the boxes kitchen floor cabinets photo 2: Repeat this process for each cabinet until all wall cabinets are hung. Position the first cabinet set the first cabinet 1/4 in.
Transfer the 4″ marks from the door to the sideboards of the cabinet.
Cut the cabinet bottom to that length. Of filler to the back. I love the build, i also love the doors. Set the fence of your table saw 3 inches from the blade, and adjust the angle of the blade to 45 degrees. This allowed for me to hang the cabinet alone and it kept them level with each other. Start with the corner cabinet or leftmost cabinet if you're not installing in a corner. Remember to account for the cabinet's face frame. Above you can see how i filled the empty sides with these mini storage baskets from target. Add trim to diy wardrobe cabinet carcass. Align and glue the base panels so that one flat face is flush with the back edge of the panel and the other is 3 back from the front end. I built my drawer 14″ wide by 10″ deep. If you really, really want the doors to open all the way, you can add another 1/4 in. These kitchen base cabinet ideas are ideal for both modern and vintage style homes.
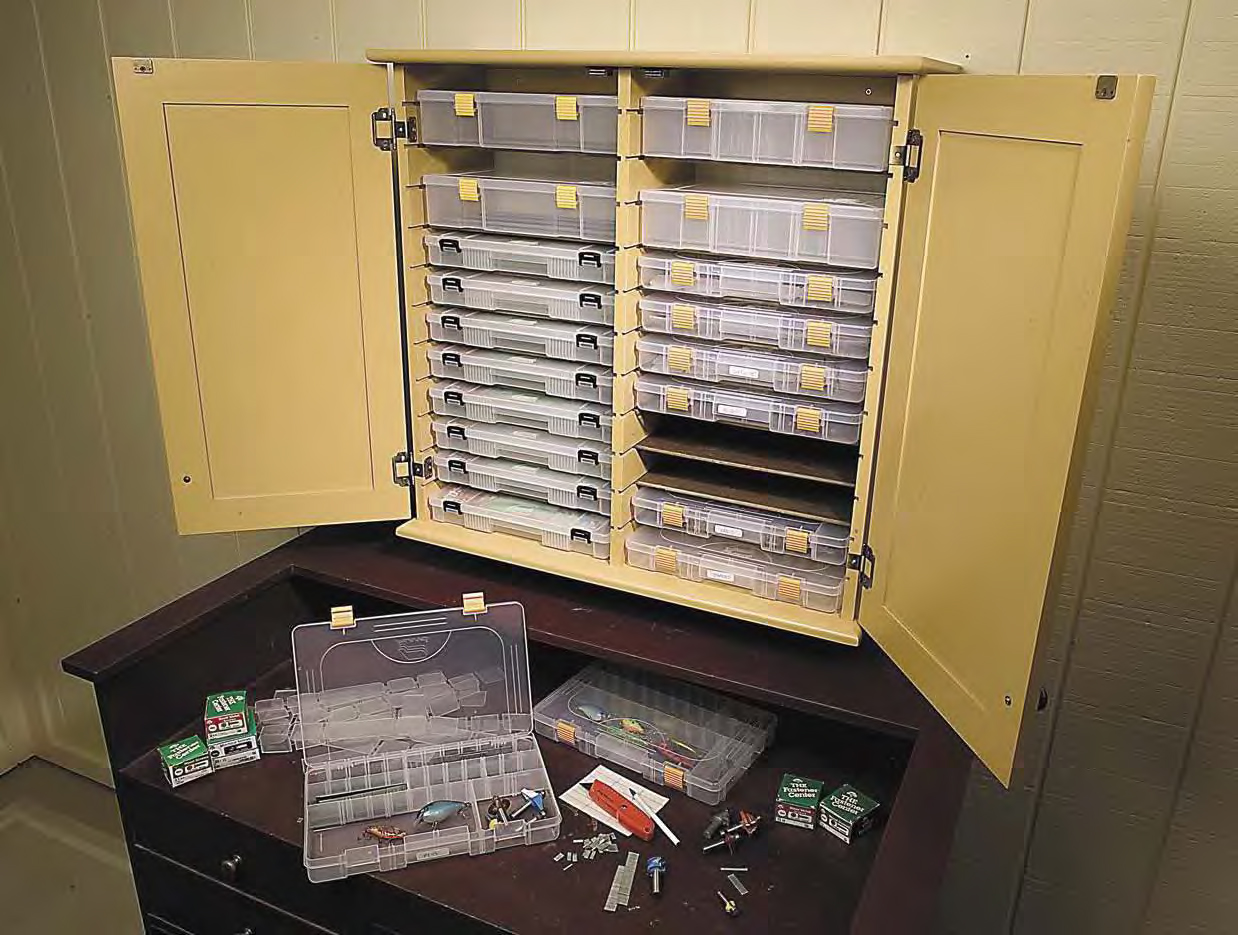
When planning your cabinet, make sure to leave 1″ clearance above the top of the file drawer so the hanging file tabs will clear the faceframe or drawer above the files. But if you hang tools on the front of the cabinet or on the walls on either side, 4 it shouldn't matter at all. Screws through the back into the wall studs to anchor it. When we moved into our garage apartment house a few months ago, we were living with our clothes still in boxes and it was complete chaos. The thicker plywood usually adds only a few bucks to the cost of each box and eliminates the need for a hanging strip or nailer at the back of the cabinet.
Build A Hanging Tool Cabinet Plans DIY Free Download How ... from www.handtoolschool.net How to install kitchen cabinets step 3: Rest the bottom of the cabinet on the ledger board. Level and set the boxes kitchen floor cabinets photo 2: Use a level to make sure you are attaching the cleat level and attach it to the studs behind the wall with 3″ wood screws. Screws through the back into the wall studs to anchor it. Finished diy hanging file drawer in kitchen cabinet. That means quicker construction and a cleaner interior look. Start off by building your cabinet's base from four 2×4 boards then proceed to install dividers.
When we moved into our garage apartment house a few months ago, we were living with our clothes still in boxes and it was complete chaos.
When planning your cabinet, make sure to leave 1″ clearance above the top of the file drawer so the hanging file tabs will clear the faceframe or drawer above the files. Of filler to the back. Use the guidelines you created on the wall and your tape measure to mark the distance from the cabinet edge to the stud and transfer this to the cabinet. But if you hang tools on the front of the cabinet or on the walls on either side, 4 it shouldn't matter at all. These kitchen base cabinet ideas are ideal for both modern and vintage style homes. Start off by building your cabinet's base from four 2×4 boards then proceed to install dividers. Rest the bottom of the cabinet on the ledger board. Check to make sure the cabinet is level front to back as well as side to side. Align and glue the base panels so that one flat face is flush with the back edge of the panel and the other is 3 back from the front end. To hang the cabinets, i used an 8ft 2×2 scrap as a cleat. Level and set the boxes kitchen floor cabinets photo 2: Join the base panels to the bottom. From the positioning line and shim the base until the top is even with the horizontal line and level from front to back.
That is the length you need to trim your bottom panel and top support pieces. Align and glue the base panels so that one flat face is flush with the back edge of the panel and the other is 3 back from the front end. Screws through the back into the wall studs to anchor it. Transfer the 4″ marks from the door to the sideboards of the cabinet. These kitchen base cabinet ideas are ideal for both modern and vintage style homes.
Hanging The Cabinets from antol.com From the positioning line and shim the base until the top is even with the horizontal line and level from front to back. Position the first cabinet set the first cabinet 1/4 in. Level and set the boxes kitchen floor cabinets photo 2: Cut the cabinet bottom to that length. From the positioning line and shim the base until the top is even with the horizontal line and level from front to back. Hanging upper kitchen cabinets is the next step in this series. Place the second template at the mark and with a nail push down through the template to make a dent on the sideboard. The thicker plywood usually adds only a few bucks to the cost of each box and eliminates the need for a hanging strip or nailer at the back of the cabinet.
Add trim to diy wardrobe cabinet carcass.
Remember to account for the cabinet's face frame. This allowed for me to hang the cabinet alone and it kept them level with each other. When planning your cabinet, make sure to leave 1″ clearance above the top of the file drawer so the hanging file tabs will clear the faceframe or drawer above the files. In this episode we'll walk through the basics of building upper cabinets that will work great in your laundry room or kitchen. From the positioning line and shim the base until the top is even with the horizontal line and level from front to back. I built my drawer 14″ wide by 10″ deep. Use the guidelines you created on the wall and your tape measure to mark the distance from the cabinet edge to the stud and transfer this to the cabinet. 1x top and bottom cut two to the width of the assembled doors plus ⅛inch for the gap between the two, and add 6 to 8 inches for an overhang on either side. Repeat this process for each cabinet until all wall cabinets are hung. Check to make sure the cabinet is level front to back as well as side to side. Create the two halves of the set with 1x4 lumber. These kitchen base cabinet ideas are ideal for both modern and vintage style homes. Hanging upper kitchen cabinets is the next step in this series.